TL;DR
- About 80% of sensor problems are a bumped or dirty photo-eye, not a dead part. Look for a steady green and a steady red LED, one on each side.
- Near the coast, the real culprit is often rust. Salt air corrodes sensor brackets and wire connections in PB, La Jolla, Coronado, and Oceanside faster than inland.
- Clean both lenses, clear the floor, and realign until the LEDs go solid. That fixes most cases in five minutes.
- If the LED stays dark after cleaning and realigning, you likely have a wiring or sensor fault. Sensor replacement runs $85 to $175 installed.
Your garage door won’t close and the opener light blinks. Nine times out of ten that’s a safety sensor problem, and most of them you can fix yourself in five minutes. Check both photo-eyes for steady LED lights, wipe the lenses, and clear anything across the beam. If one LED stays dark or flickers after that, it’s misaligned, corroded, or wired wrong. Here’s how to tell which, with the coastal twist San Diego homeowners actually deal with.
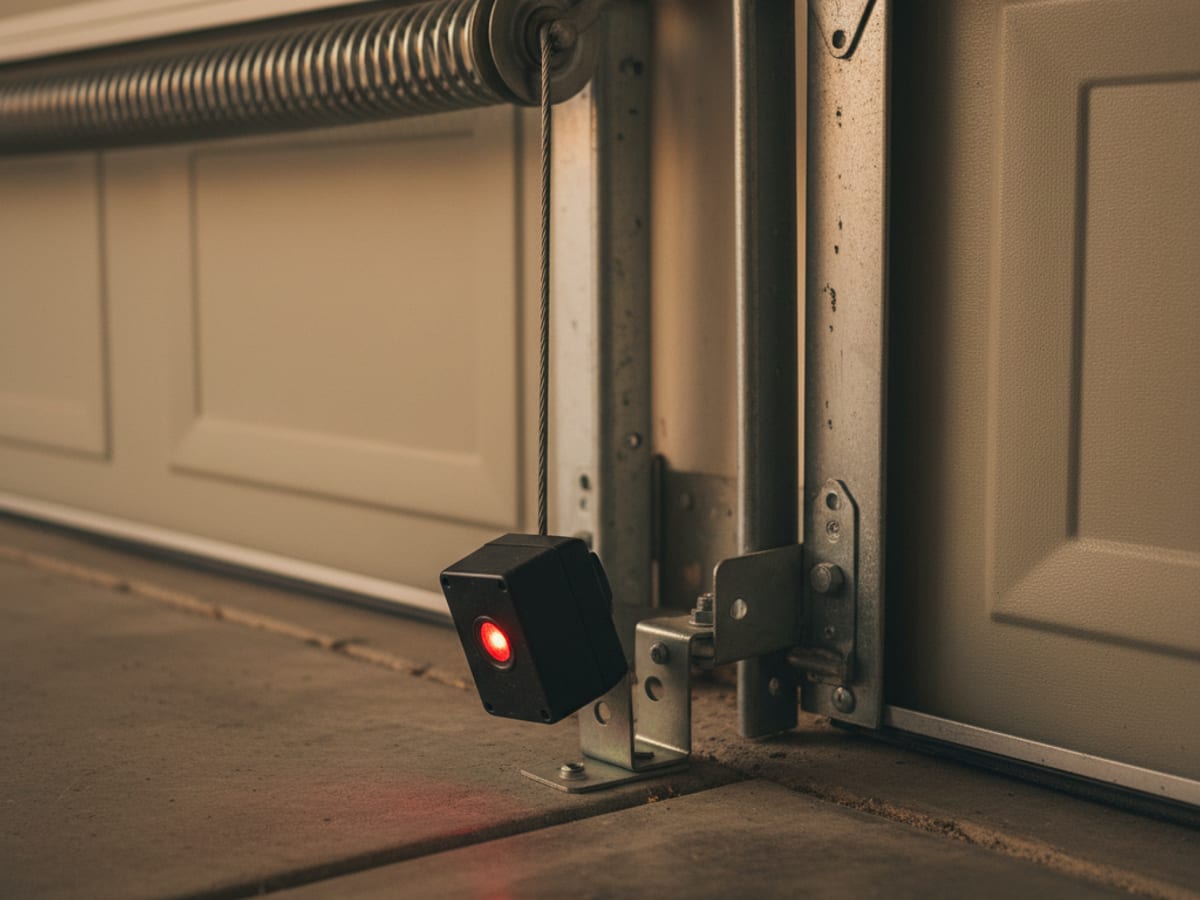
Every garage door opener built after 1993 has two photo-eye sensors mounted about six inches off the floor, one on each side of the door. A federal safety rule called UL 325 requires them. One sensor sends an invisible infrared beam, the other receives it. Break that beam and the opener refuses to close, because it thinks a child, pet, or car is in the way.
Read the LED lights first
The two sensors tell you almost everything before you touch a tool. Walk into the garage and look at both.
- One steady green, one steady red. This is correct. The sensors are aligned and talking to each other. Your problem is somewhere else, like the limit switch or opener. See the won’t-close troubleshooting guide for the rest of the checklist.
- One LED dark or off. That sensor lost power or the beam is broken. Misalignment, a dirty lens, a corroded wire, or sun glare.
- One LED flickering or dim. Usually a loose wire connection or early corrosion. Common near the coast.
- LED blinking in a pattern with the opener. On LiftMaster and Chamberlain units, the opener light blinking 10 times means “sensor beam broken.” That points you straight back to the photo-eyes.
LiftMaster, Chamberlain, and Craftsman openers use green for a good sensor and amber or yellow for a misaligned one. Genie and other brands vary, but the rule holds: solid light good, dark or flickering light bad.
The San Diego problem: salt air and marine layer
This is where the generic troubleshooting articles stop and San Diego reality begins. Photo-eyes sit six inches off a concrete slab, which is the worst spot for moisture and salt to collect.
If you live within a few miles of the water, in Pacific Beach, La Jolla, Coronado, Ocean Beach, Imperial Beach, Del Mar, Encinitas, or Oceanside, the salt in the air corrodes the small metal sensor brackets and the wire terminals behind them. The marine layer that rolls in most mornings keeps everything damp for hours. Over a year or two that builds white or green crust on the wire connections, which weakens the signal until the sensor reads dark or flickers.
A few coastal patterns we see again and again:
- Rusted brackets that won’t hold alignment. You realign the eye, it works for a week, then drifts because the corroded bracket flexes. The fix is a new bracket, not just a nudge.
- Corroded staple connections. Many openers connect sensor wire with small pierce-through staples. Salt corrosion at that point drops the signal. Cleaning and re-terminating the wire usually solves it.
- Morning-only failures. The door closes fine by afternoon but not at 7 a.m. That’s marine-layer moisture in a marginal connection. It dries out as the day warms. A clear sign the wiring, not the alignment, is the real issue.
Inland, in El Cajon, Santee, Poway, or Escondido, you’ll see far less corrosion and more straightforward bumped-sensor and dirty-lens problems. Same sensors, different enemy.
Fix it yourself: the five-step pass
Work these in order. Stop when the LEDs go solid and the door closes.
- Clear the floor. Anything across the beam line stops the door. A trash can, a broom, a coiled hose, a stack of boxes, even a pet sitting in the path. Clear all of it.
- Wipe both lenses. Spider webs and dust film are the number one cause. Use a clean, dry microfiber cloth. Don’t spray cleaner directly on the lens.
- Check for sun glare. Late-afternoon sun hitting the receiving sensor can wash out the beam. If the door only fails at the same time each day, that’s it. A small cardboard hood over the sensor fixes it.
- Realign the eyes. Loosen the wing nut behind one bracket so it pivots. Aim it directly at the other sensor. Watch the LED. When it goes solid, tighten the nut without bumping the aim. The two eyes must point straight at each other.
- Inspect the wires. Follow each sensor wire up to the opener. Look for chew marks, pinches, or green or white corrosion at the terminals. Wiggle the connections. If the LED flickers as you wiggle, you found a bad connection.
If the LED goes solid and stays solid, you’re done. Test the door three times to be sure it holds.
When realignment won’t hold and you should call
Some sensor problems aren’t a five-minute fix. Call a tech if you hit any of these:
- The LED stays dark after cleaning, realigning, and checking the wires.
- The bracket is rusted through and won’t hold alignment.
- The wire is corroded, frayed, or chewed and needs replacement.
- The door closes, then pops back open even with solid green LEDs. That’s usually a limit-switch setting, not a sensor.
- Both LEDs are dark, which often means the sensors lost power at the opener board.
A corroded wire run or a fried sensor isn’t a part-store swap for most homeowners, especially if it traces back to the opener logic board. Our sensor repair and alignment service handles the coastal cases, fresh brackets, re-terminated wiring, and matched-brand replacement sensors.
What sensor work actually costs in San Diego
Real numbers, not ranges that mean nothing. These are typical San Diego County prices in 2026 for sensor work.
| Job | Typical cost | Notes |
|---|---|---|
| Diagnostic and realignment | $0 to $95 | Often free if folded into another repair |
| Lens cleaning and re-aim | $85 to $120 | The most common service call |
| One sensor replaced | $85 to $175 | Matched to your opener brand |
| Both sensors replaced | $150 to $250 | Aging openers, do both |
| Sensor wiring repair or re-run | $120 to $225 | Common on corroded coastal connections |
| New bracket plus realignment | $95 to $160 | When rust won’t hold the eye |
Coastal jobs often land at the higher end because corrosion means new brackets and re-terminated wire, not just a nudge. We give an upfront quote before any work, so you’re never surprised at the end. For the full picture on garage door pricing across every repair type, see the San Diego repair cost guide.
A note for HOA and condo residents
Plenty of San Diego homeowners are under HOA rules, especially in Carmel Valley, Scripps Ranch, 4S Ranch, and the coastal condo complexes. Good news on sensors: photo-eyes are internal safety equipment, not the door face. HOAs care about the exterior look of your door, not the sensors behind it. You don’t need approval to clean, realign, or replace a sensor, and no city permit applies to sensor work. Permits only come into play for a full door or opener replacement, not a sensor fix.
Frequently asked questions
Why is one sensor light green and the other not lit?
The green light is usually the sending unit, working fine. The dark one is the receiver, and it isn’t catching the beam. Clean its lens, realign it until the light comes on, and check its wire for corrosion. Near the coast, a dark receiver LED is often a corroded wire connection.
Can I bypass my garage door sensors?
You can hold the wall button down continuously to force the door closed past a sensor fault, which is a code-allowed one-time failsafe. Only do it for a door with a confirmed-clear path. Never unplug, jumper, or permanently disable the sensors. They exist to stop the door from closing on a person or pet.
Why do my sensors work in the afternoon but not the morning?
That’s a coastal classic. Marine-layer moisture sits in a marginal wire connection overnight and breaks the signal. As the morning warms and dries, the connection works again. The real fix is cleaning and re-terminating the corroded connection, not realignment.
How long do garage door sensors last?
Inland, 10 to 15 years is normal. Within a few miles of the ocean, salt corrosion can cut that to 5 to 8 years for the brackets and wire connections, even when the sensor itself is fine. If yours are original to a 15-year-old opener, replacing both during any service call is worth it.
Will cleaning the sensors really fix the door?
Often, yes. A dusty or web-covered lens breaks the infrared beam just like an obstruction does. Wiping both lenses with a dry microfiber cloth is the single most effective first step, and it costs nothing.
If the sensors check out but the door still won’t budge, walk through the full won’t-close checklist for the limit switch, opener, and track causes. To keep sensor and corrosion problems from stranding you, the San Diego maintenance checklist catches them early, which matters most near the coast.
Sensors still dark after the five-step pass? Call Lift Pro SD at (858) 925-5546. Most sensor calls are under $175 and done in under an hour. Same-day across San Diego County, including coastal corrosion work in Pacific Beach, Coronado, and Oceanside.