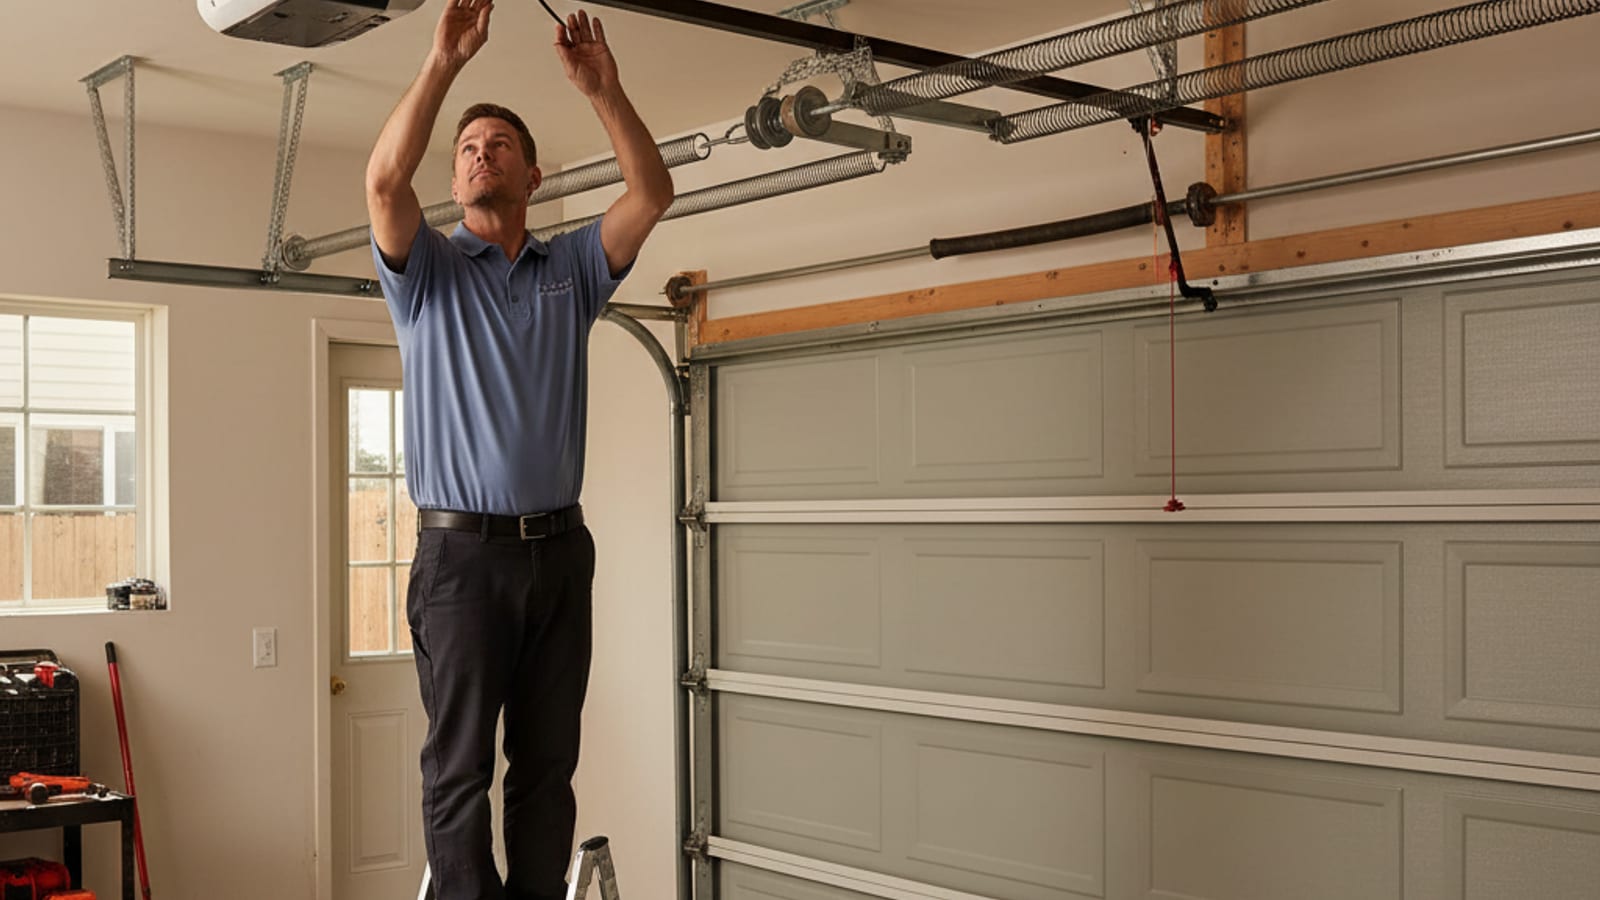
Test your garage door safety sensors (monthly)
The photo-eye sensors six inches off the ground are the only thing stopping the door from closing on a kid, pet, or car.
What you'll learn
- Why UL 325 requires photo-eye sensors on every residential garage door opener (since 1993)
- How to read the LED status, one sensor sends (usually green), one receives (usually amber/red)
- The two-test routine: object-break test and reverse test
- Why dust, spider webs, and a 1/8-inch misalignment can stop a door from closing
Step by step
- Press the wall button to close the door.
- As it closes, wave a broom or a box into the beam path, six inches off the ground.
- The door should immediately reverse and reopen. If it keeps closing, stop and call a professional.
- Next, lay a 2x4 flat on the floor in the door opening. Close the door again.
- When the door hits the wood, it should reverse within 2 seconds.
- Check the LED status on both photo-eye sensors. Both should be solid, not blinking.
Safety note
If either sensor LED is blinking, they're misaligned. Loosen the bracket screw, adjust until both lights go solid, and tighten. If the LED won't light at all, the sensor itself has failed, it's a $95–$180 replacement.
Rather have a pro handle it?
Same-day electrical service across San Diego County. A real electrician picks up.
More guides
Keep learning.
Maintenance · 4 min watch
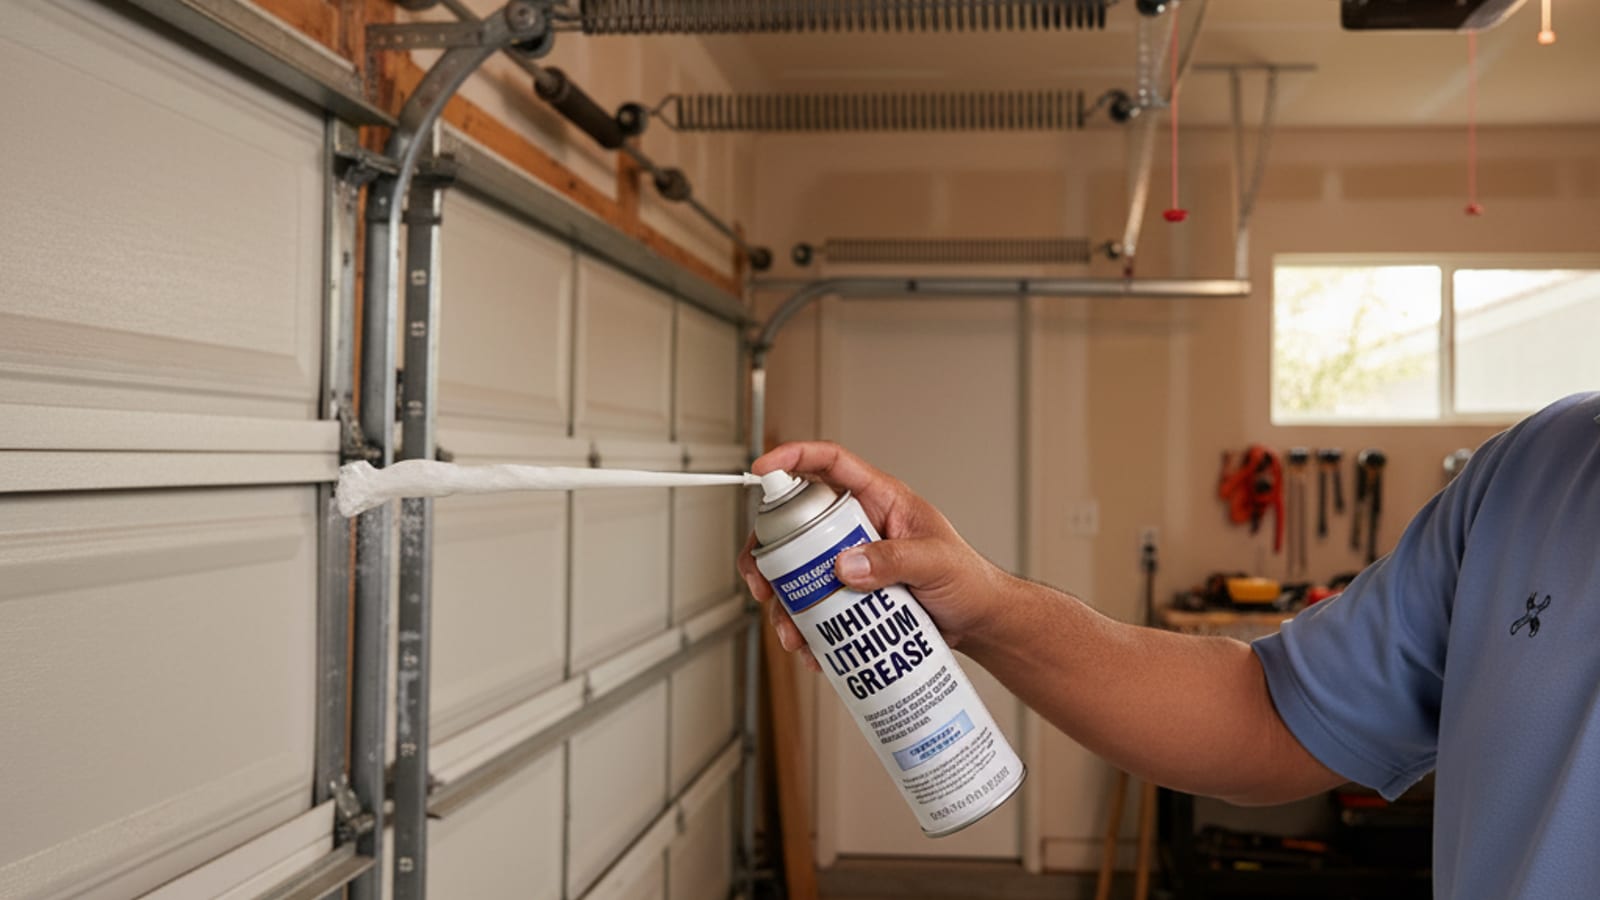
Lubricate your garage door (the right way)
Five minutes twice a year. Cuts noise, extends spring life, and keeps rollers from seizing.
Basics · 5 min watch
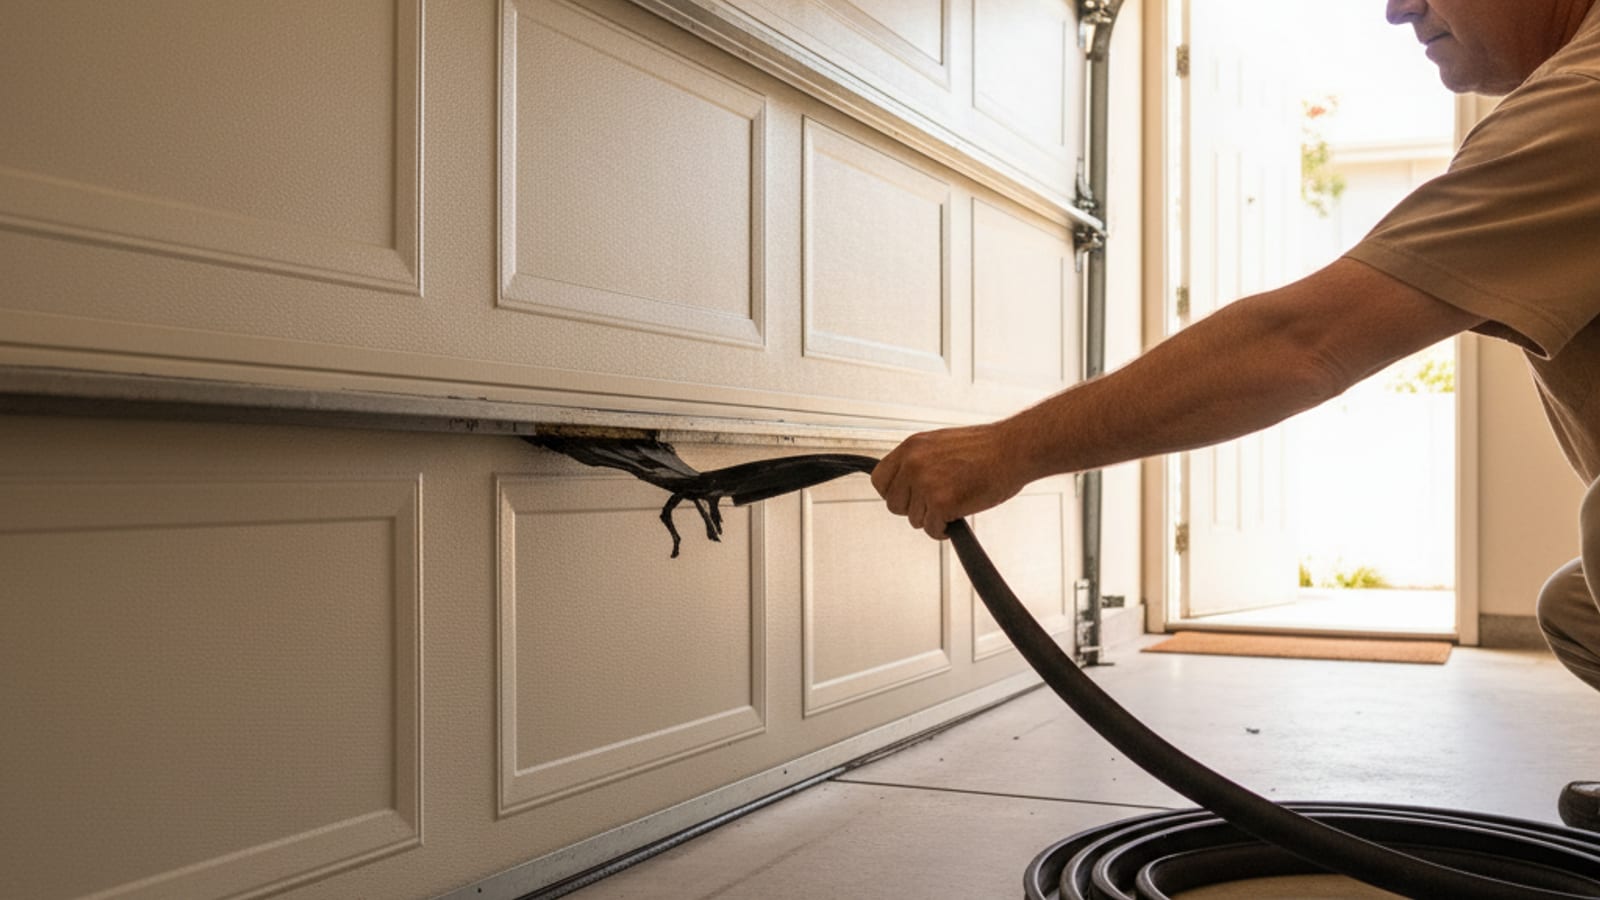
Replace the bottom weather seal
The rubber U-seal at the base stops drafts, water, rodents, and dust. Worn seals are obvious, swap in 20 minutes.
Troubleshooting · 3 min watch
Reset your garage door opener after an outage
After an SDG&E blip or new battery, the opener often needs a quick reset before the remote works again.