Program a new garage door remote or keypad
Lost the remote or moved in with nothing to clip to the visor? Five minutes, one step stool, and you're done.
What you'll learn
- Which remote works with your opener, matching brand is easiest, universals work if the frequency matches
- The 315 MHz vs. 390 MHz difference, pre-2011 vs. post-2011 LiftMaster/Chamberlain
- Why you need the step stool, the learn button lives on the back of the motor unit
- How to clear all remotes at once if you moved in and want the old ones wiped
Step by step
- Identify your opener brand and model. The sticker is usually on the side of the motor housing.
- Buy a matching remote or a universal that covers your frequency (most modern LiftMaster/Chamberlain are 315 MHz with the yellow learn button).
- Climb to the opener. Locate the learn button (color varies, yellow, purple, red, green, or orange).
- Press and release the learn button once. A small LED will light for 30 seconds.
- Within 30 seconds, press and hold your remote button until the opener clicks or the motor light flashes.
- Test the remote. Door should respond.
Safety note
To clear all remotes from the opener (useful after moving in), press and hold the learn button until the LED turns off, about 6 seconds. Every paired remote is wiped. Reprogram just the ones you want to keep.
Rather have a pro handle it?
Same-day electrical service across San Diego County. A real electrician picks up.
More guides
Keep learning.
Maintenance · 4 min watch
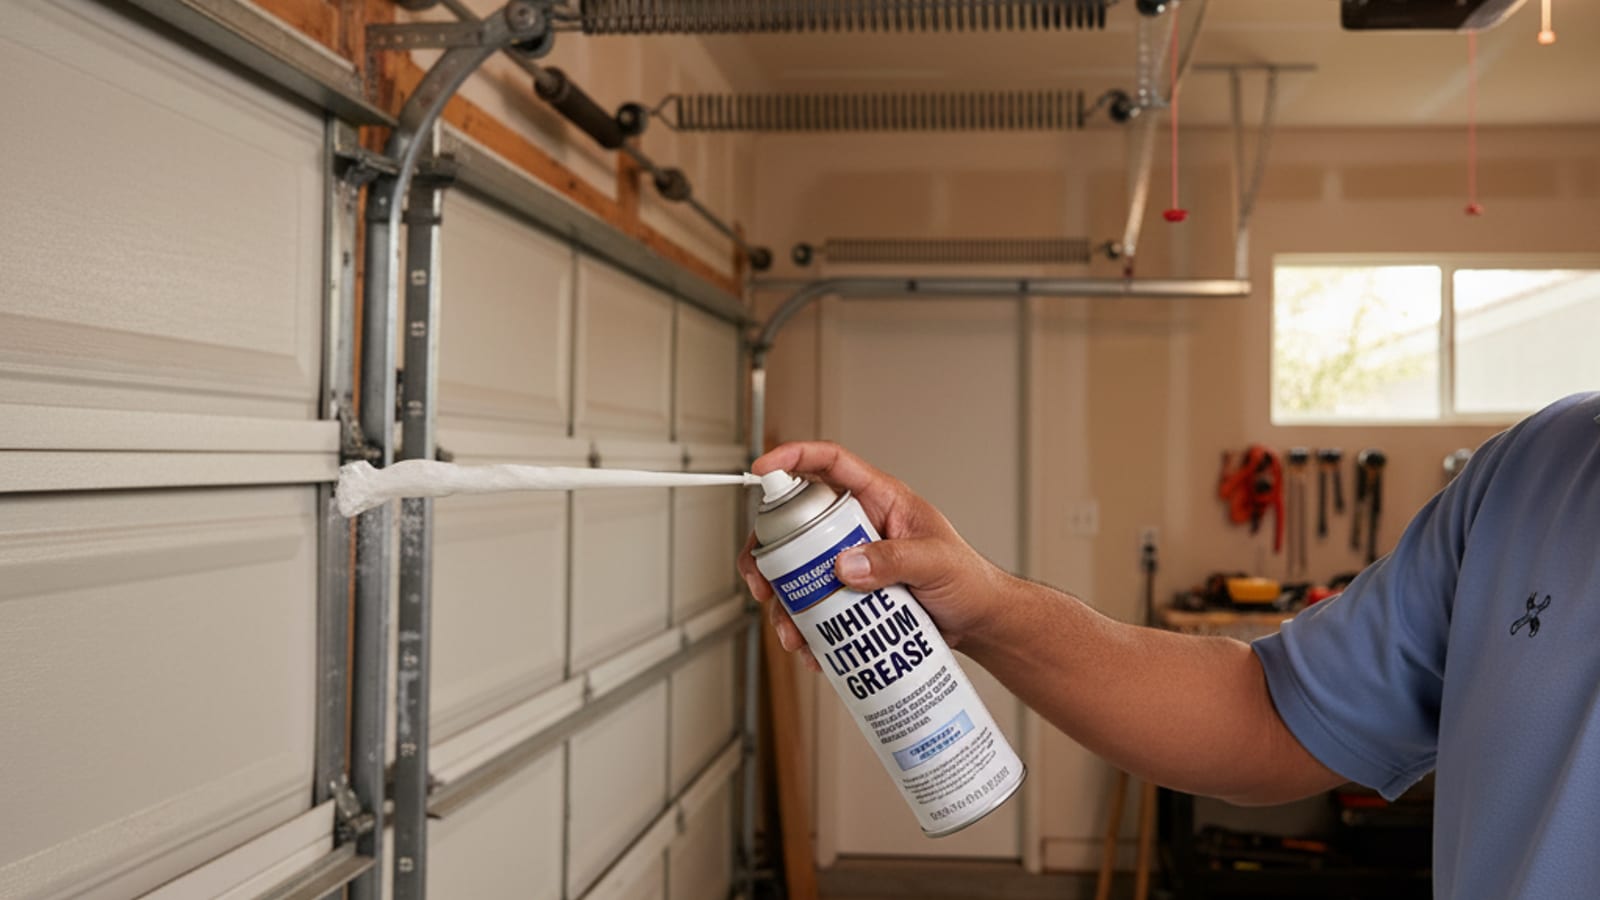
Lubricate your garage door (the right way)
Five minutes twice a year. Cuts noise, extends spring life, and keeps rollers from seizing.
Safety · 3 min watch
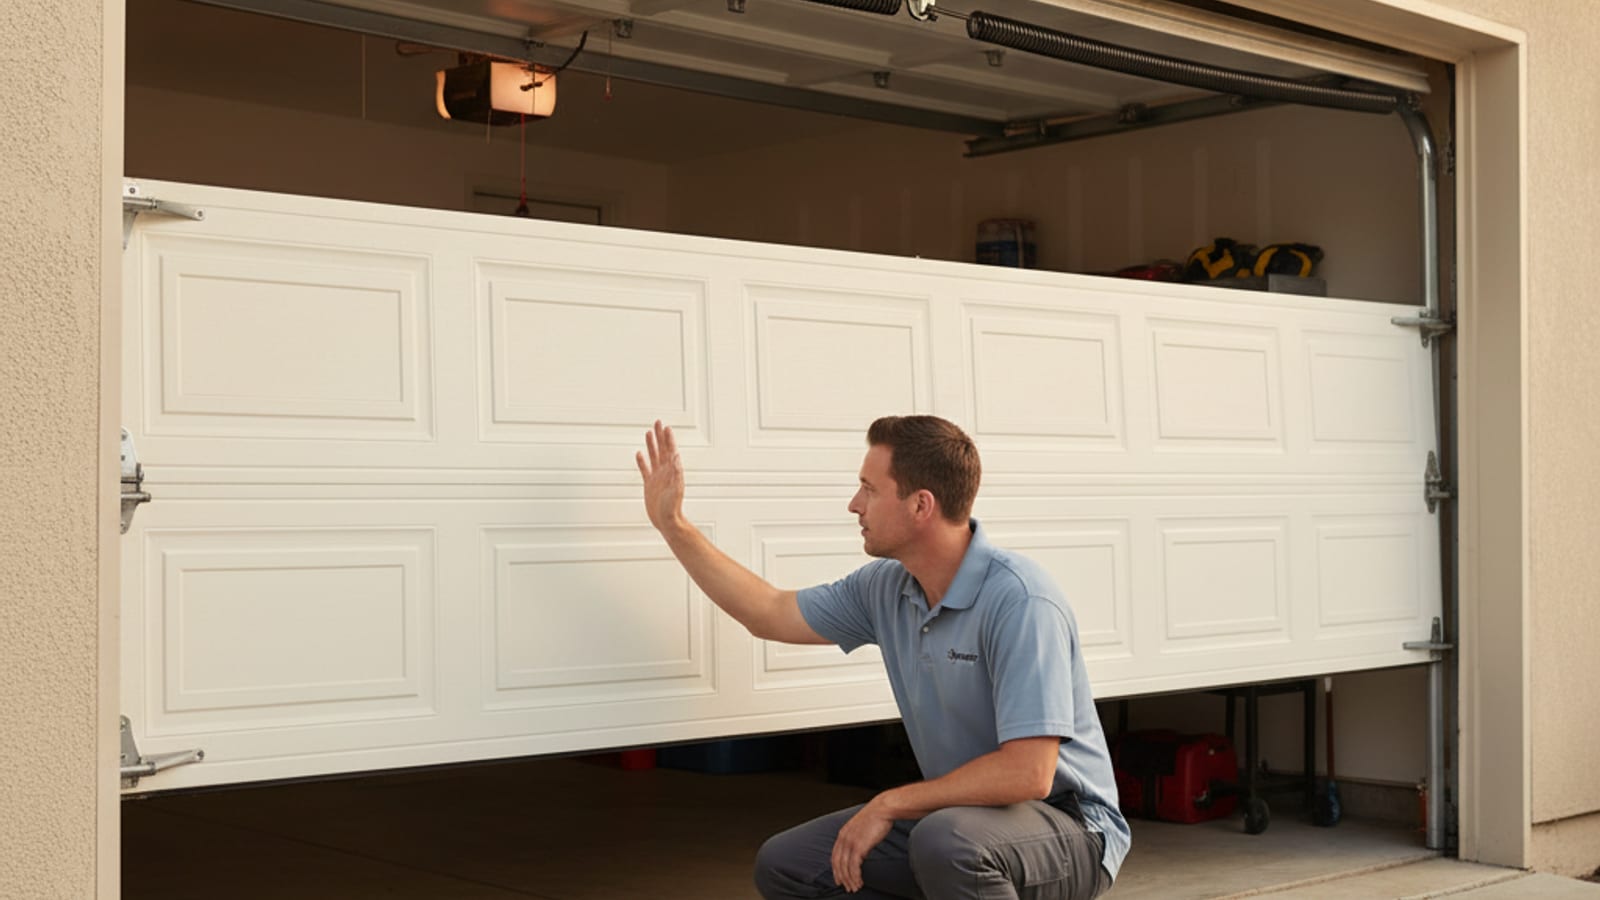
Test your garage door safety sensors (monthly)
The photo-eye sensors six inches off the ground are the only thing stopping the door from closing on a kid, pet, or car.
Basics · 5 min watch
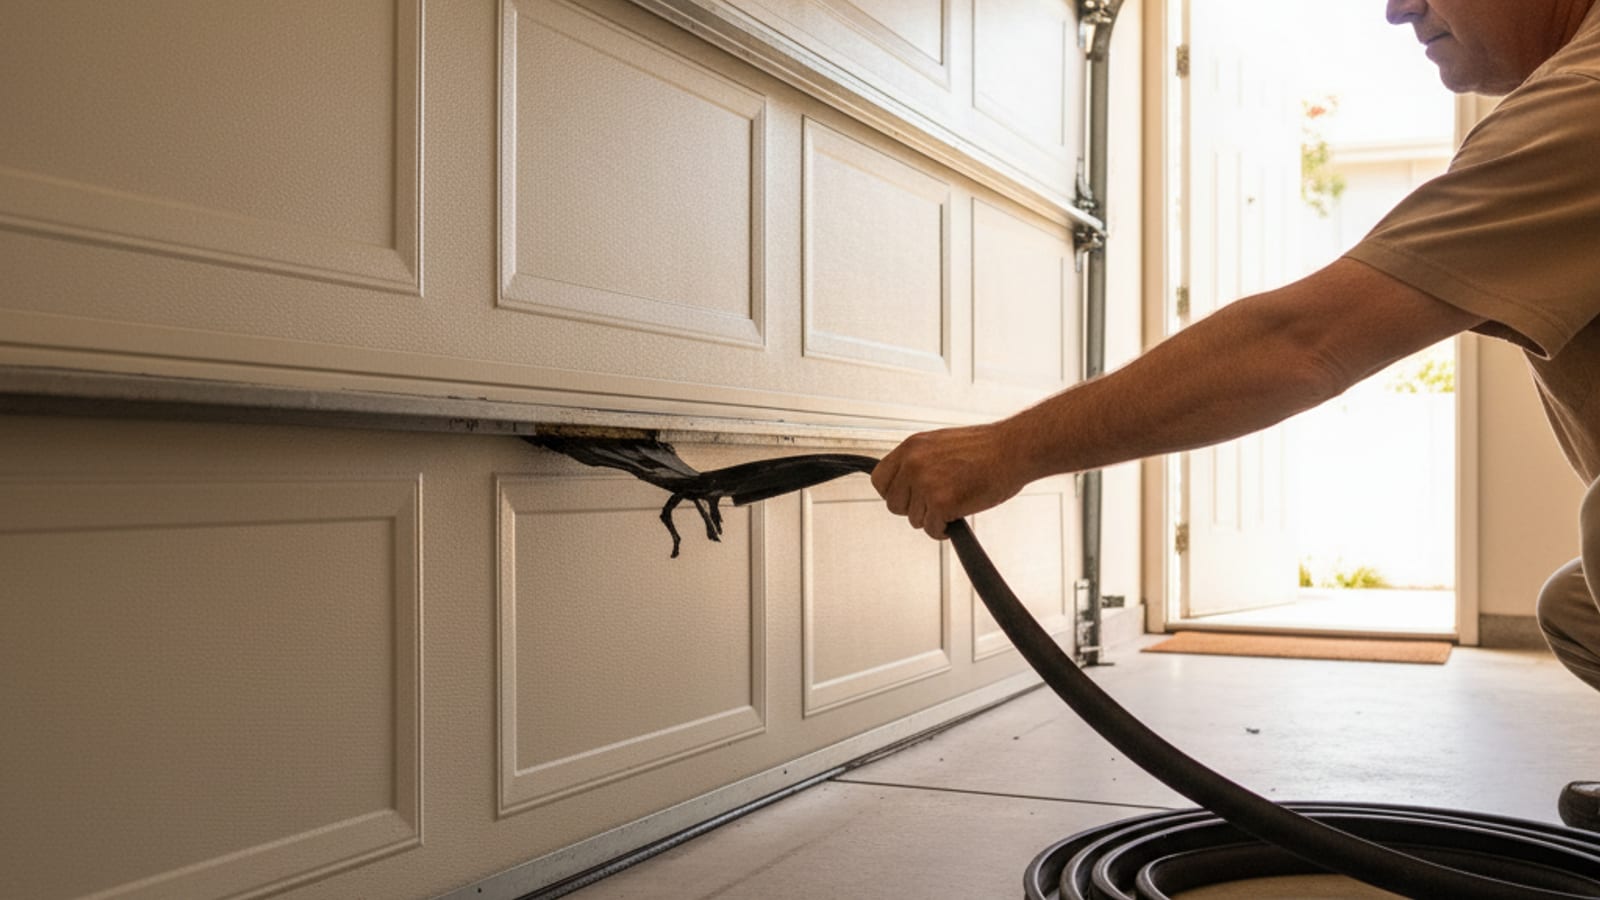
Replace the bottom weather seal
The rubber U-seal at the base stops drafts, water, rodents, and dust. Worn seals are obvious, swap in 20 minutes.